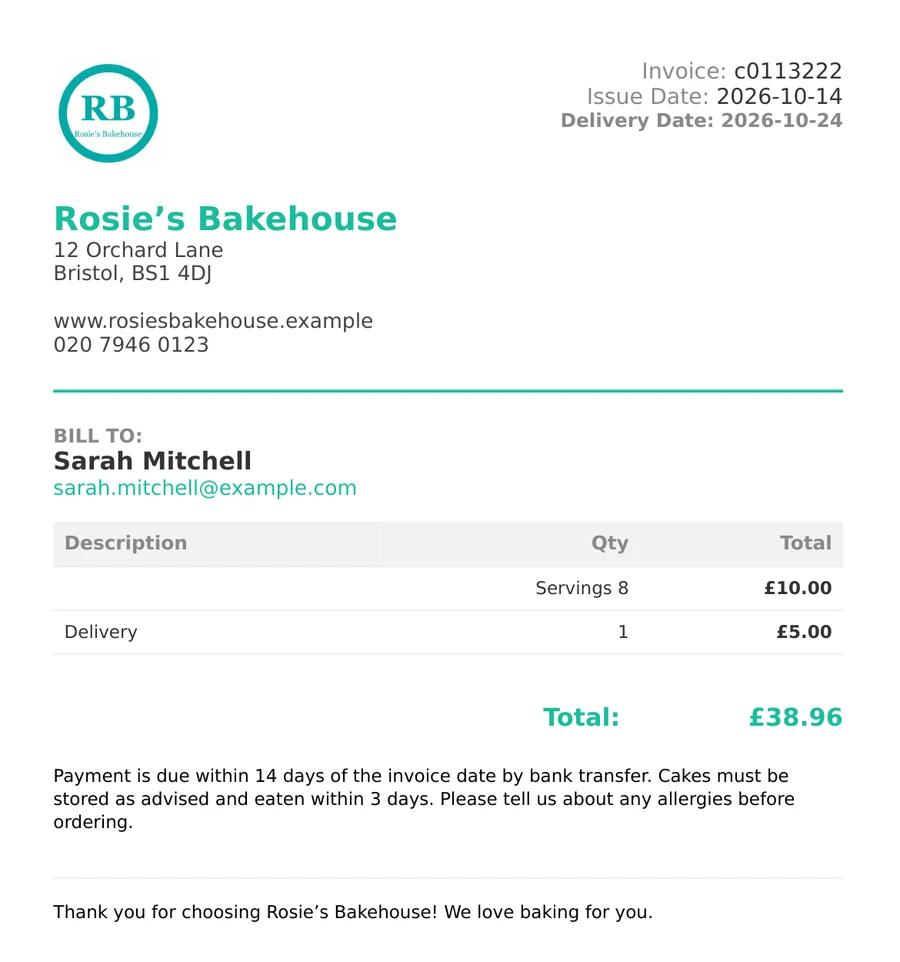
Make every invoice look like it comes from your business. Add your logo and details once, write your own payment terms and thank-you message, and they appear on every invoice you send.
On the mobile app
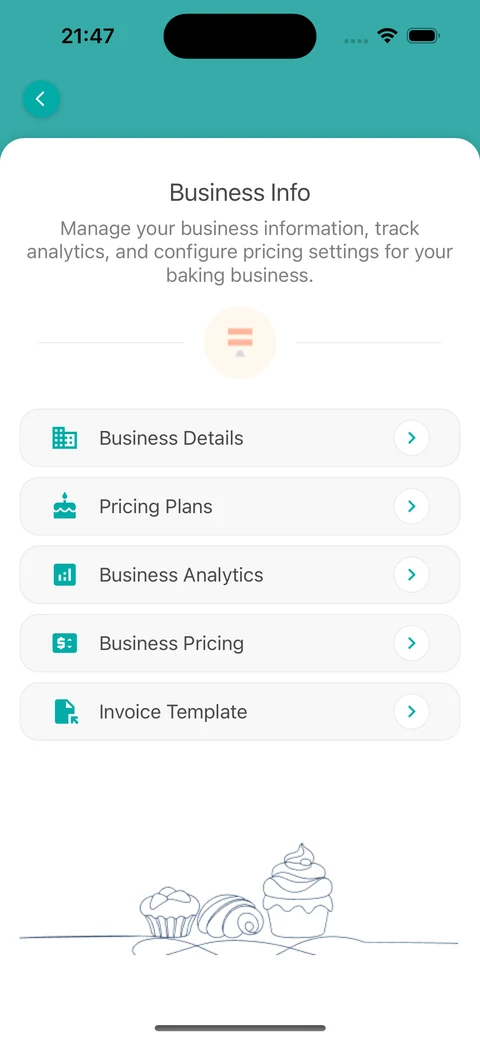
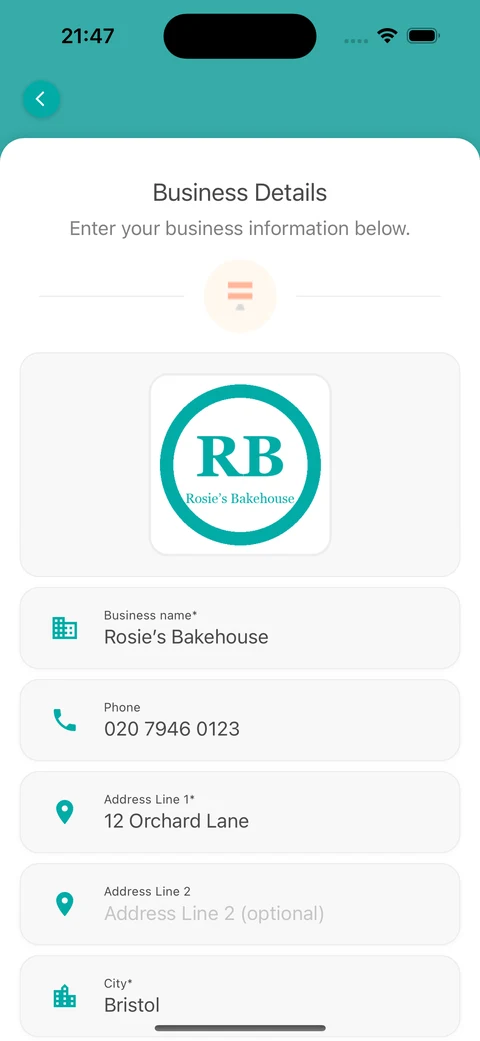
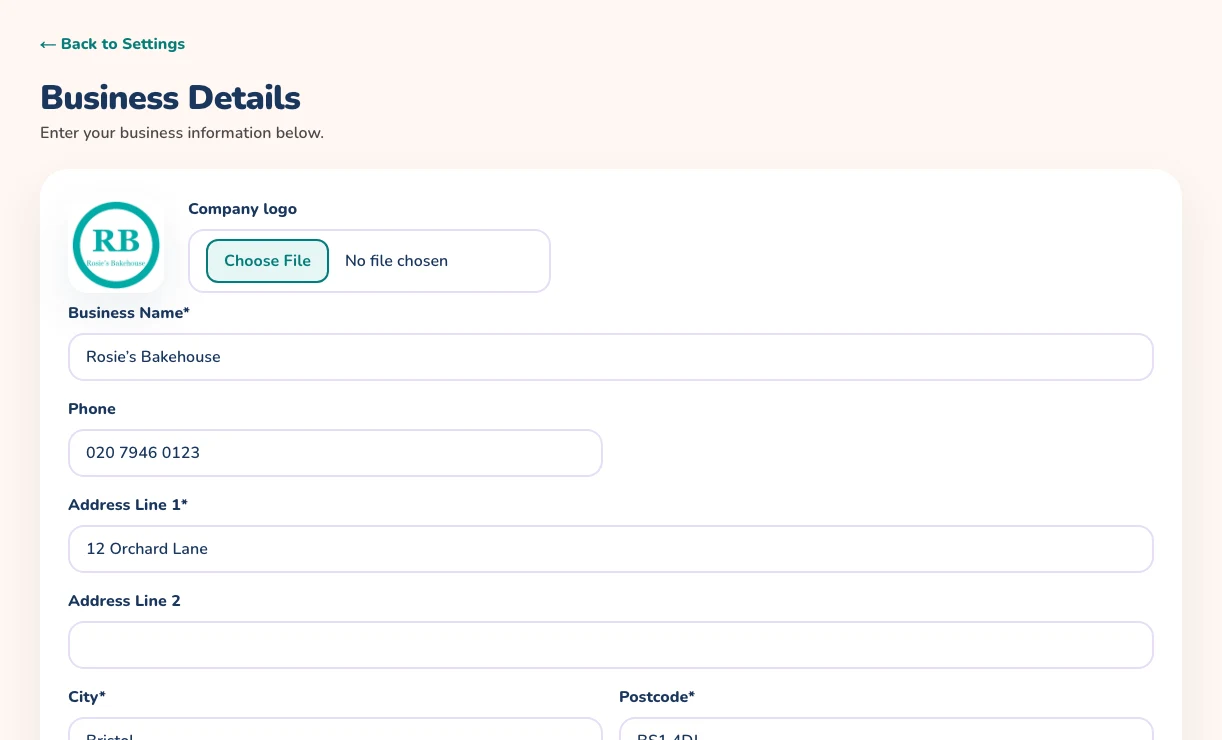
Open the menu, choose Business Management, then Business Details. Tap the logo area to upload your Company Logo.
Fill in your business name, address, city and postcode. Phone, website and email are optional but help customers reach you. Save your details.
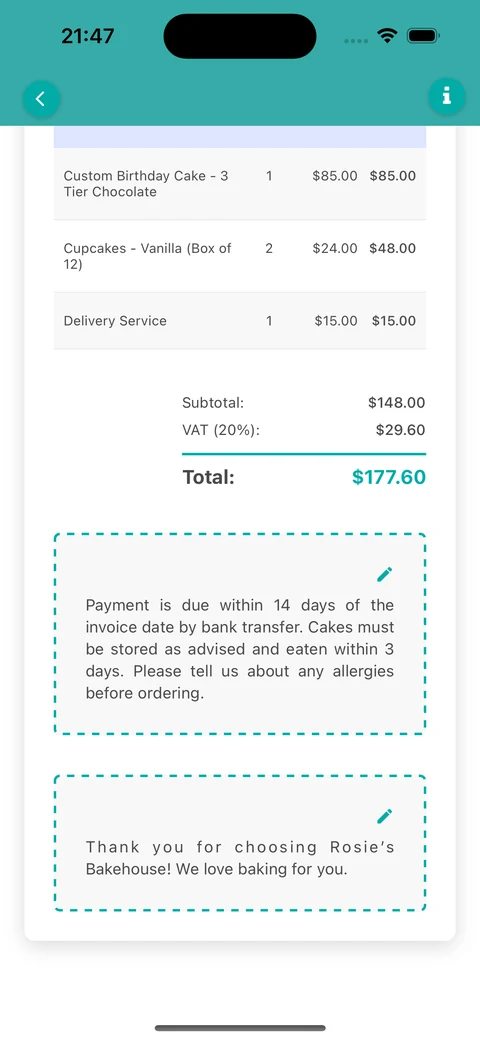
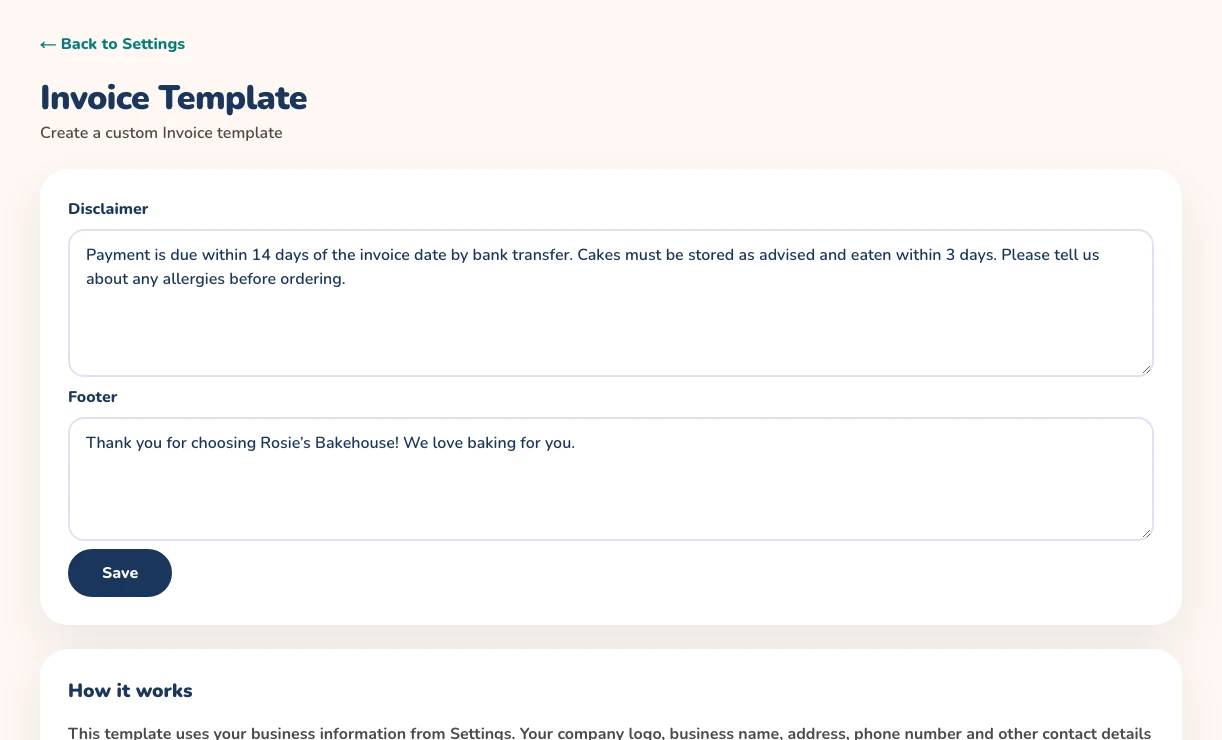
Go back to Business Management and open Invoice Template. Tap to add disclaimer text, then use Edit Disclaimer to write your payment terms or liability wording.
Tap to add footer text, then Edit Footer, for a thank-you message or final instructions. Save it with Save Footer.
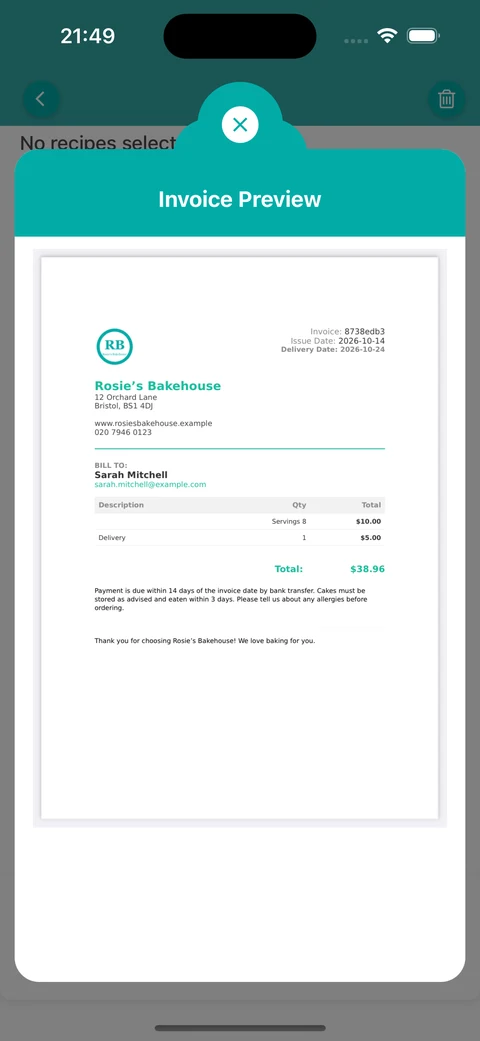
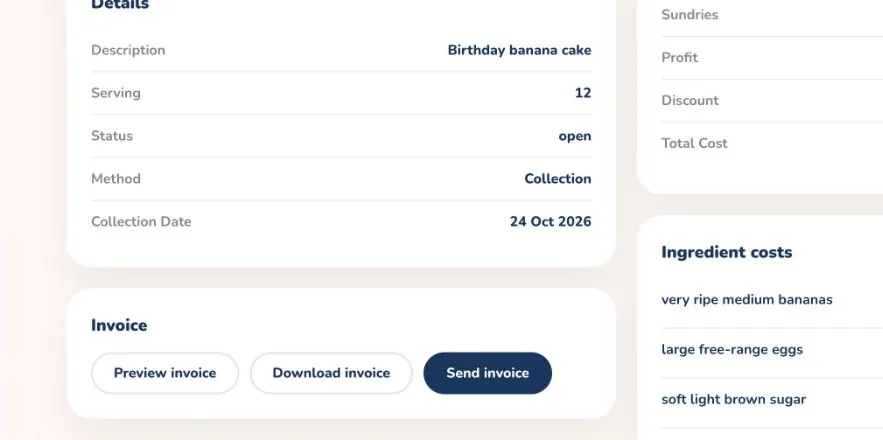
Open the Calculate tab, tap a calculation and use Preview Invoice to see your logo, details, disclaimer and footer on the invoice.
Invoice templates are part of the business tools, which are available on paid plans.
Your logo and business details come from Business Details, so update them there and every new invoice picks up the change.
Business Details and Invoice TemplateYour logo and business detailsYour disclaimer and footerYour branded invoice
On the web
Open Settings, then Business Details. Upload your Company logo and fill in the business name, address, city and postcode. Phone, website and email are optional.
Select Save to keep your business details.
Back in Settings, open Invoice Template. Write your payment terms or liability wording in Disclaimer and a thank-you message in Footer.
Select Save. A confirmation tells you the template was saved.
Open Calculate, select a calculation and choose Preview invoice in the Invoice section to see your branding on the invoice.
The invoice template is available on the Part-time and Full-time plans. Upgrade in the app if you need it.
Your logo and business details come from Business Details, so update them there and every new invoice picks up the change.
Your logo and business detailsYour disclaimer and footerPreview your branded invoiceYour branded invoice